After a trip to Micheals and JoAnn Ect., we picked up the necessary material that I didn't already have in my boxes of wargaming terrain supplies. This included a Toob of Jamestown Settler figures, some wood strips, clay, and some fake animal fur.
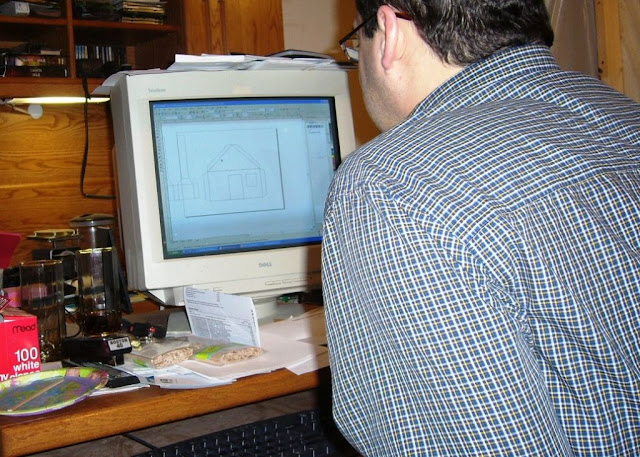
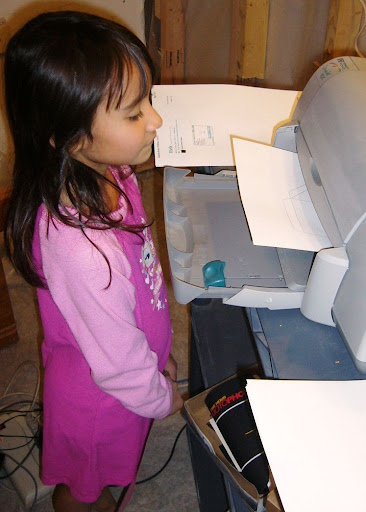
Coming home I quickly sketched up a paper model of a simple house shape on my computer. Scaled to to the size of the figures in the Toob and printed it out on 100 wt. cardstock paper.
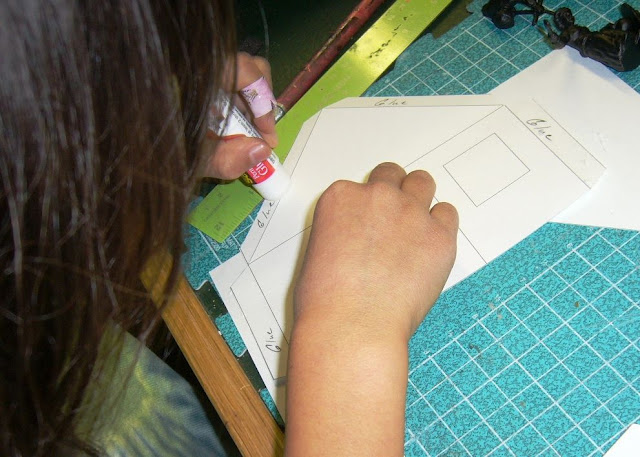
Next, because Sydney was still pretty young to be handling knives, I went about cutting out the shapes and scoring the folding edges with an X-Acto Knife. However, Sydney did get to fold and glue the parts together.


We primed the Jamestown Settler figures black with the intention of painting them as traditional Pilgrims, mostly black and white clothing. Also, I pretty much hate pre-painted figures and would much rather paint them myself. The stacks of firewood were from some Christmas Town USA assessories from Micheals.


The next step was to reinforce the house with wood. As Sydney was already learning to use a ruler in school, I made her practice using a tape measure (another valuable wargaming skill), while I cut some of the wood planks to length using an X-Acto Razor Saw and Mitre Box. This would give the paper some structure to hold up to the wood planks and the thatch roof were going to put up later.


After all the planks were on, this was pretty much the composition she wanted. The trees were from my terrian supplies, I usually pick up some of these after Christmas at Micheals for 75% off and use them for wargaming terrain. Most have snow on them however. The chimney in the back is also a cardstock model I drew up and we assembled like the house structure.
For the chimney, I had Sydney roll up some random sized round stones out of Sculpey. We then baked them and she glued them onto the cardstock chimney structure, Ailene's Super Tacky White Glue.


 So while she was doing this I was out in the garage painting the wood planks Mocha Brown with some spray paint. The next step was to teach Sydney the most important technique in wargaming terrain making, that is dry brushing. Mixing up some lighter shades of brown and using a wide flat brush we would load up a color and smear the paint on a rag until it was almost dry on the brush. Then lightly stroke along the wood grain, raised edges and corners. This highlights the object and gives a worn and weathered look.

 With the glue on the chimney dry, I took that out to the garage and spray painted it grey. The base was also painted in some browns and greys. Our next step was to work on the base. We located the cabin where we wanted it and marked it. Then glued some scrap wood along the insides so that we could securely glue the cabin in place when were were ready to put the whole thing together. Outside of this region we applied some thick layers of glue and some model railroad ballast and sand to give the ground a less than perfectly flat appearance. We then coated the ground with thinned white glue. The next step was to sprinkle Games Workshop static grass (colored felt fibers that stand up), and some Woodland Scenics Snow. After the glue dried she shook off the excess.
 Not crazy about the fake snow glued on the pine trees, I repainted them green with some spray paint. After mounting them to the base board, Sydney drybrushed them with white glue and then sprinkled more Woodland Scenics snow on them for a much more realistic look. Also she went about drybrushing the stones on the chimney.

While Sydney was working on these activities, I was painting up the Jamestown Settler figures. Sydney then finished them off by applying glue to their bases and static grass and snow.


For the thatch roof, I cut a patch of fake animal fur (commonly found at fabric stores for making stuffed animals) to fit the roof and then took it out to the garage and doused it with khaki spray paint. Not only did this give it the color I needed but a matted appearance too. After fixing it to the roof with glue, Sydney dry brushed glue over the top and sprinkled snow on it. After the glue was dried, she shook off the excess snow.


We finished up the cabin by gluing the chimney to the back. The window was finished with a sheet of clear plastic from a miniatures blister pack. The figures were glued in place, Sydney wanted some of the farm animals that came in the Toob in this as well (yeah, I know that chicken is a bit out of scale). The one woman with the hoe, didn't seem right in a winter setting. So we glued her on the inside of the cabin, from the window you can't see the hoe and it looks more like she's sweeping the floor with a broom. After gluing the cabin to the base. Sydney finished it off by gluing some stretched cotton ball to the chimney for some smoke.


We completed the project with about a day to spare. Sydney received an A+ on the project.

Great stuff!
ReplyDeleteBrian