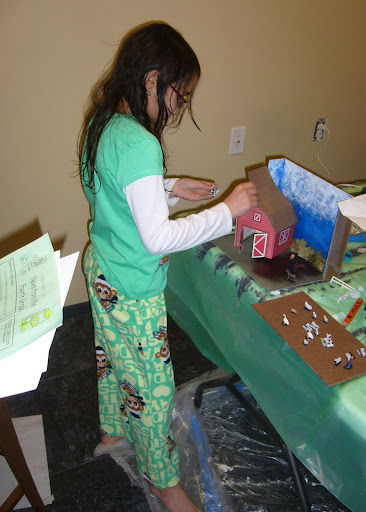
 Sydney had to do a book report on Charlotte's Web and part of the book report included building a diorama from a scene from the book. So I told her that, like before, she was to play the role of the creative director and I'll be the helpful handiman. Although in this case I felt she was up to taking on some more of the construction tasks. I wanted her to pick the scene and what she wanted and I'll find the materials and help her make it happen. So she gave me a list of the items she wanted in the scene which included a barn, a pigpen and a list of animals that included a baby pig and a sketch. So the first thing I did was place an order with Mega Minis for some farm animals as they had a quite extensive list of animals in 25mm in their catalog. Normally we could have simply bought a Toob of pre-painted animals from Micheals for a fraction of the cost. However, thought it would be good to have everything in the same scale as many of those figures in the Toobs are far from it and no guaruntee that we'd have all the animals that she needed, especially a baby pig. Secondly I thought this would be another great opportunity to teach her to paint miniatures. Also the 25mm miniatures could be re-used later on and added to my daughters growing line of 28mm figures.
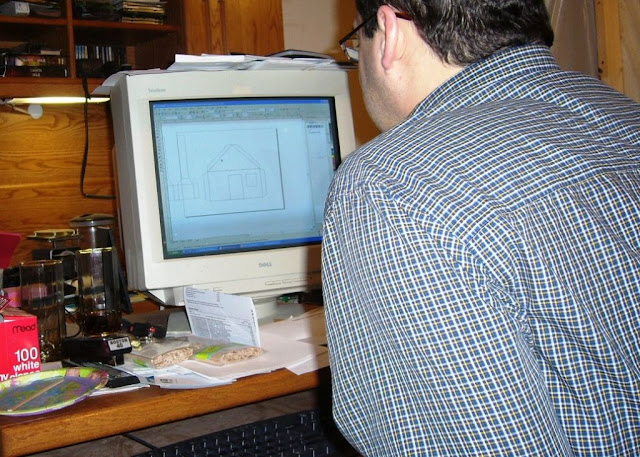
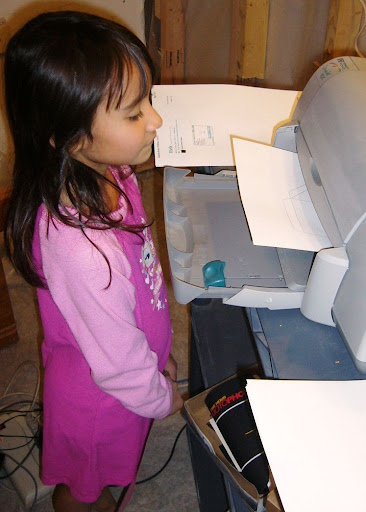
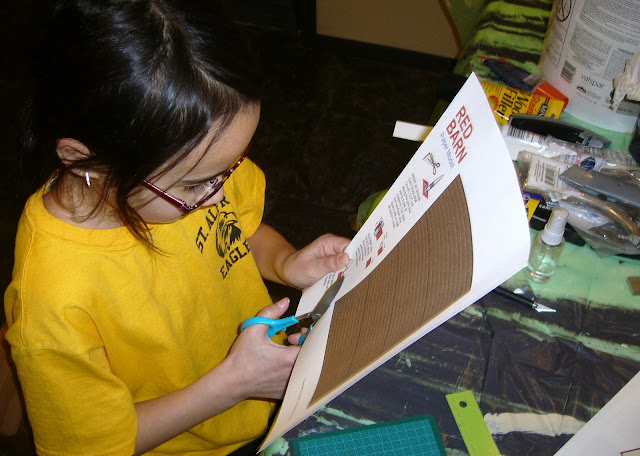 While waiting for the miniatures, I cut out some scrap MDF board to make a custom shadowbox, rather than use an old shoebox. My first thought was to build a barn similar to the Pilgrim Cabin we did several years ago. However, we had much less time to work on this. I went about looking for some paper model kits of a barn online. There's ton's a great paper model kit files available for free online, some even nicer ones if you want to pay a few dollars too. These you can simply print off with your color printer on 100 wt cardstock found in the scrapbooking sections of most craft stores. Most files are in Adobe Acrobat format, so you will need to make sure you have Adobe Reader installed on your computer. Doing a few searches I found a suitable kit here. Many of these are used for miniature wargaming and are suitable for standard scales (15, 25, and 28mm scales).
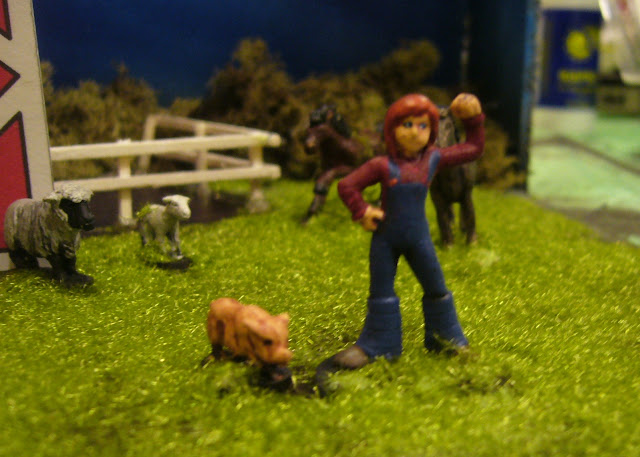
The miniatures arrived a bit late and with a busy work schedule we were a bit behind on getting this project done. I had all the metal figures cleaned of sprue and flash and primed and ready for painting. Then Sydney mentions to me that she needed a girl figure for Fern. Since I had not ordered a figure and there was no time to place an order again, I dug through my spare bitz bin which included lots of cheap Heroclix figures that I've accumulated over the years for conversion work. I found a pair of little girls who were superheroes and the girl that came with this cool looking horseless carriage from the movie The Golden Compass. The Golden Compass girl was made of some of the softest plastic, almost rubber, that I doubted anything I painted on would stay on. Sydney picked the taller of the two Heroclix figures, as she said Fern was too old to be the shorter one.


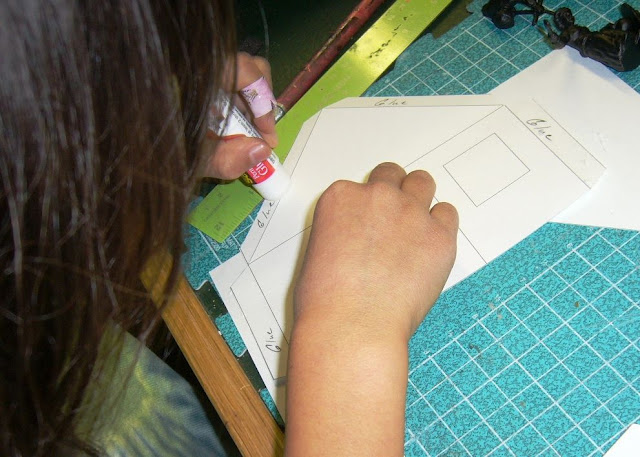
So I figured Sydney was old enough to use an X-Acto Knife under supervision. After a talk about knife safety and some demonstrations on using a knife and straight edge, I let her have a go at it. She took to it quite well. The next step was to teach her how to score edges. This involves a light cut into the surface of the paper but not enough through it. This allows a nice clean 'hinged' fold of the paper. The trick is to cut the right side of the paper, based on which way the paper folds. Many paper model kits indicate this by use of dashed lines on the printed side, and notes near the printed work where you are to score along the backside of the paper.

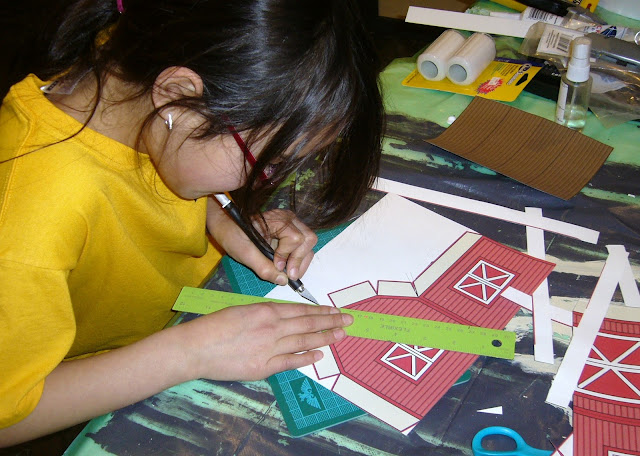
 Next Sydney had informed me that she needed an 'upstairs' as most of the activity within the barn went on upstairs. Looking at the model we had built so far, it was pretty easy to add an upper level. I simply printed off another sheet of the roof material and cut a rectangular section that fit within the structure. However we were going to need to bolster this up to support the weight of some metal figures. We bolstered up the insides of the paper model using wood strips I originally bought to make the exterior of the barn, like the Pilgrim Cabin, before deciding to go all printed paper. Sydney was given the task of measuring the strips, while I cut using my razor saw and mitre box. Later I let her get into using the saw.
When gluing the paper together we use a quality gluestick like 3M brand or some of the clear gel paper glues found in the scrapbooking sections of most craftstores, I liked the Aqua band. These hold pretty securely and don't dryup and loose grip like cheap glue sticks. Also the Aqua does wrinkle paper when used sparingly. Sometimes a sping loaded clamp, like a clothes hanger or chip clip, is helpful in securing these joints until the glue dries. We used regular Elmer's white glue for attaching the wood to the paper and clamped everything until dry.

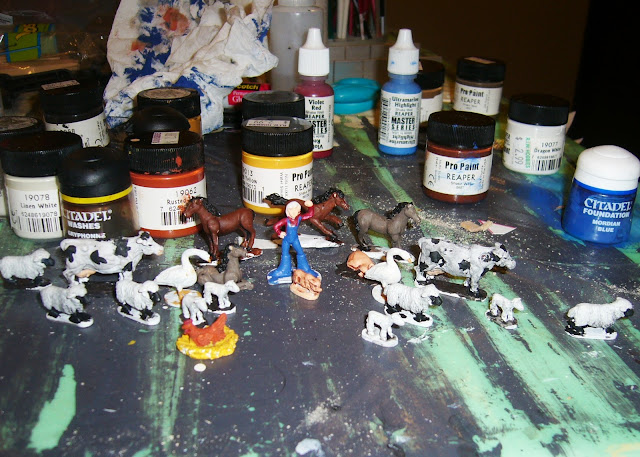

 Next we went about painting the farm animals. Breaking out my collection of paints, the two of us started painting the animals as fast as we could. While Sydney was painting all the animals, I went about painting Fern, trying to disguise her superhero outfit into something that looked a bit more at home on the farm, like some overalls and shirt. In the meantime, I was out in the garage spray painting a sky and ground onto the shadowbox.
 When the spray painting was done, I had Sydney make clouds by simply wadding up some paper towels, and dabbing them in white paint, then dabbing them on a rag until the paint was semi-dry (like drybrushing) and then dabbing it along the upper part of the sky. While she was working on this, I was assembling a fence for a pig pen out of wood matchsticks and spray painting them in the garage. The project was due the next day so we were up late trying to get this thing finished. Laying the pieces out we needed something to hide the corners in the composition. I dug through my terrain supplies and came up with some lychen that would make good trees and bushes.
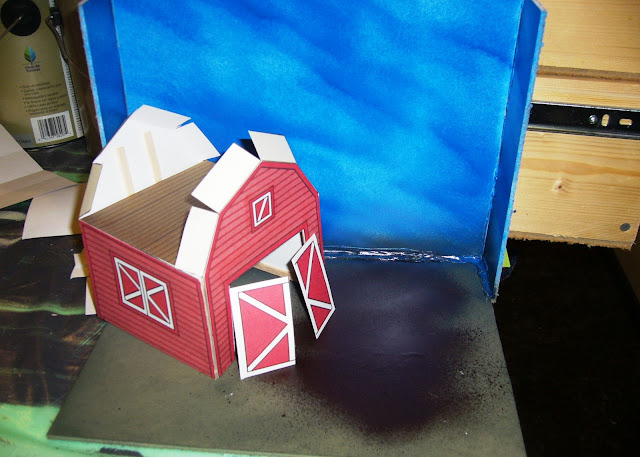
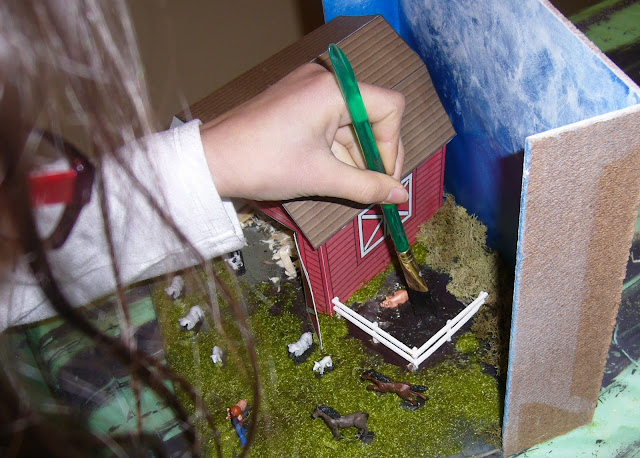
 Since Sydney wanted the upper level occupied, I removed some of the tabs that were to hold the roof down on the barn. Then I glued the remaining tabs to the roof such that half of it could be lifted to see the animals underneath. The hinged roof needed some weight to stay down securely, so I taped some metal washers on the underside.

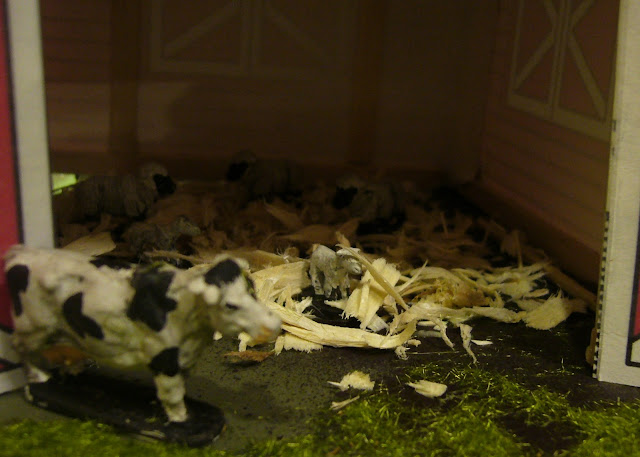
For the final stages of this, I let Sydney use the hot glue gun to secure the pieces to the board. We ended up using some wood shavings for a hamster cage to represent the hay in the barn. Then applying a thinned coat of white glue to secure the static grass.


 After using the hot glue gun, Sydney proposed the idea for the mud in the pig pen by swirling around gobs of the glue and painting that over with the Mud Brown paint. I thought it was a great idea and let her do it. The effect worked very well.
We completed the project late that night with the glue still wet in some places, but certainly dry and ready to transport to school the following morning. Sydney earned another A+ for both the book report and the diorama.


