Imperial Japanese Navy
I finally got about finishing up the rest of my Japanese army. I had purchased a second boxed set of Bolt Action Imperial Japanese Army from Warlord Games, but this time painted them as Navy Troops. I wanted them to look different from my existing IJA army. They essentially wear the same uniform and use the same gear, except that instead of a star on their uniform they have an anchor. Doing some Bing-Foo, I found that in most cases the uniform colors were about the same, but I did find some examples of this blue-grey that I decided to go with. Unfortunately, I can't tell you the colors I used to get the blue grey because I, well, forgot. The rest of the colors for the helmets and webbing were the same colors I used for the IJA force I did.

When assembling them, I made sure to mount different heads on the bodies than what I used for the IJA figures. Also the set comes with a standard for Imperial Japan, the IJA and the IJN.


Imperial Japanese Army
I was able to get some more models that met the IJA army lists that had been released in the Over the Wire #17. I couldn't find any models that were specifically Giretsu Airborne Commandos, but I was able to find some nice models armed with Type 100 Submachine Guns from The Assault Group that fit in well as commandos. The Assault Group also provides weapons sold loosely, which come in handy for conversions. I was able to order a bunch of Type 100 SMGs for some more conversions.


For the IJA Sniper, Jungle Fighters and the Takasago Raiders, I used these Jungle Fighters & Snipers from Old Glory, which are also from West Wind's Berlin or Bust line.


For the IJA Combat Engineers, which are essentially another heavy weapon team, I was able to find some models with flame throwers from The Assault Group, but so far nobody with a Type 97 Anti-Tank Rifle. Although they are sold in a set, which is more flame throwers than I need, I found that the excess can be used for some of the weirder stuff that will be available for the IJA and IJN forces.


This officer set from The Assault Group gave me some opportunities to make some other individual units and hero types.


Field Ninjas
You just can't have Weird War II Japanese without ninjas. So far the Over the Wire article featured a host of Field Ninjas available to the IJA. Actually they will be part of a Japanese occult sub-faction called The Black Dragon Society. While looking for material to field my IJA forces, I came across this set of ninjas on eBay. However I cannot determine who made them (yes, even I have been stumped). So if you recognize these guys, chime in.

 The Field Ninja Specialists listed in the OTW#17 were Assassin, Battlefield Terror, and Saboteur. Based on the descriptions of the first two, they could easily be represented by many of the thousands of ninja models out there. However the Saboteur is armed with one of those hard to find Type 100 SMGs, Grenades and a Ninja-To sword. Fortunately The Assault Group sells loose weapons in packs of 10 and I was able to get some for conversion work. Originally I had intended to use some of the ninjas I purchased recently. However I found their poses just weren't what I was looking for and cutting them up and reposing them was probably going to be more problems then it was worth.
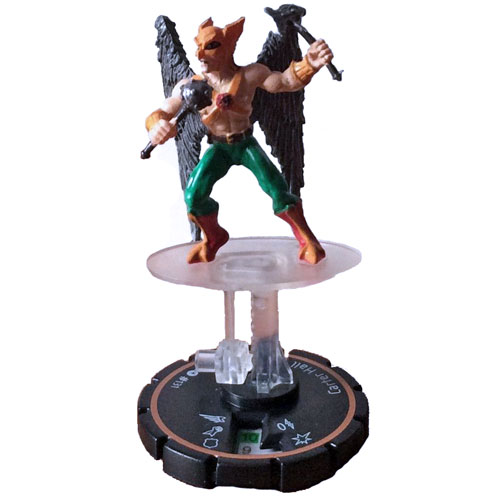
Then I dug through my Heroclix bitz bin and found a number of The Hand Ninjas. Being that soft plastic, they were easy to cut up and repose to put representative weapons in their hands. Unfortunately these ninjas are a bit big compared to most other 28mm figures. That's one of the problems with using Heroclix is that their scale is all over the map. I started with this ninja for my Japanese Saboteur. He was armed with a pair of nunchaku. Removing those and making some slight arm repositioning. Then I put a Type 100 SMG in one hand and the other, which still had part of the nunchaku between his fingers (now reduced to a small cylinder) I fashioned into a hand grenade by attaching a small diameter piece of plastic to the top to represent the stem of a hand grenade. For the ninja-to, I added a trophy sword from some of the loose custom bitz that came with my Bolt Action US Marines set I did several months back. Using some green stuff to patch up the joints for my repostioning of the arms I then sculpted a strap to hold the sword on and an ammo pouch for the SMG.
I painted this ninja using obviously black, but with Reaper Nightmare Blue highlights and a heavy black inkwash. The combat webbing and gear was Reaper Khaki Shadow with Delvan Mud glaze.

Kappa
Kappa were are some monsters found in the Black Dragon Society list. These are based on some Japanese folklore. I found some models that fit the description perfectly, and the right number of models too. These are some old Ral Partha Bushido miniatures. I'm pretty sure they are OOP, as they do not show up in the Iron Wind Metals catalog.

 Ghosts and Demons
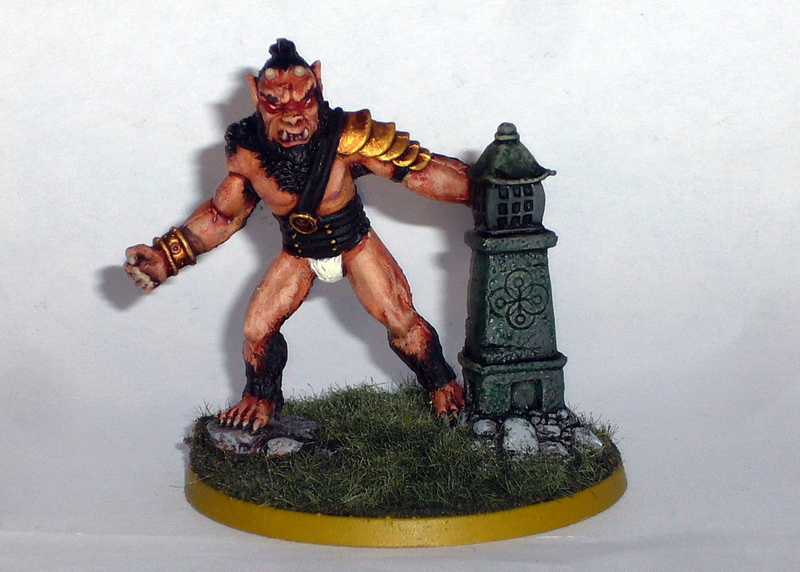
Well The Black Dragon Society has a number of other supernatural units to add to the Japanese list. This includes some ghosts and some Oni Demons. Oni demons are actually quite common in 28mm scale and can be found by many manufacturers. In fact I really didn't even have to buy anything new, I simply had to dig through my existing collection to find a number of them suitable. In fact some were already slated to become proxies for the Chinese Ogre unit for Deadlands: The Great Rail Wars. This one is an old Grenadier model that's been OOP for some time now.
 Ghosts, particularly asian style ghosts appeared to be a bit more difficult to find. Then as I was looking through the Malfaux lineup from Wyrd Games, for some Deadlands proxies, I found this beaut of a model called Ikiryo. And there's quite a few suitable models in the Ressurectionists faction for Malfaux.
I painted this one starting with a black basecoat. I did the flesh with using Reaper Golden Skin Highlight, and highlighting it by mixing more white into the Golden Skin Highlight, and painting not only the flesh areas but along the tops of the sleeves and shoulder and torso areas. Then ink with a very thin flesh wash using P3 Flesh Wash and a lot of acryllic floorwax. Then adding a white glaze over it, by thinning Vallejo White Glaze with a lot of floorwax. Using Citadel Fenrisian Grey, I painted from the bottom of the base on up and from the bottom of the sleeves on up. Gradually I'd mix in Reaper Ghost White and thin down the mixture as I got closer to the flesh colored areas. The hair was painted black with some Ghost Grey highlights. At first I wanted to do something ornate with the mask, however most of the searches I found on Japanese ghosts seemed to show a simple white mask.
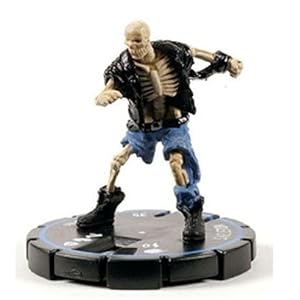 Now the American Office of Occult Research and Defense was able to summon up these Ghosts of Bataan for the American foreces in the Pacific. From the description, it's simply an animated skeleton of a soldier who died as a prisoner to the Japanese and is armed with a Ghost Rifle, very similar to the SS Draugr.
Most skeletons I had were fantasy figures and I really didn't want to do another zombie, as it just didn't fit the description. I remembered I had a skeleton in some tattered contemporary clothes, a biker jacket and jeans actually, in my Heroclix bitz box. It's actually from the Horrorclix game. By reposing the arms and doing some careful cut and re-glue of the fingers on the left hand I was able to install a 28mm metal M1 Garand rifle from The Assault Group. For the helmet, I took an extra head from my Bolt Action Marines and trimmed the head out from under the helmet. Then after trimming the top of the Skeleton's head off, I then glued the helmet down.
Starting with base-coating this figure black, I then painted the bones using Reaper Bone Shadow with highlights of Yellowed Bone and gradually added some white to the mix as I highlighted lighter areas. I simply painted the blue jeans and leather jacket in the colors I painted my Marines. However I gave them a lot more fading and highlights. Then using some black and red washes I stained areas around the bullet holes in the back and around some torn edges. Also some random splotches of Delvan mud to add some stains to the tattered uniform.